Windows 10 Setup
This guide will help you create a new email account in the Windows 10 Mail App using the proper server settings for Zimbra.
Step 1. Type Mail into the search bar next to the start menu. Select the Mail icon that appears in the search results.

Note: There are two ways to add an email account using Windows 10. If mail has not been set up previously, you will see a Welcome window with a Get Started options. If mail has already been set up, you will have access to mail settings to create a new account.
If mail has not been set up
Step 1. Select Get Started


Step 2. Select Add Account
If mail has been set up
Step 1. Select the Settings icon (the gear located at the bottom of the screen)

Step 2. On the right side of the mail window, the settings pane will open. Select Accounts.

Step 3. Select Add account

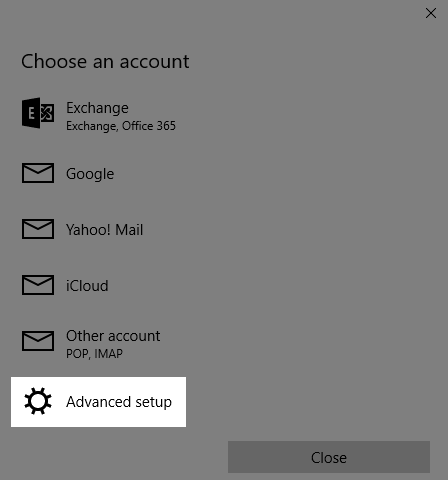
Now that the account has been created, it is time to enter the settings for Zimbra
Step 1. On the new account screen, click Advanced setup
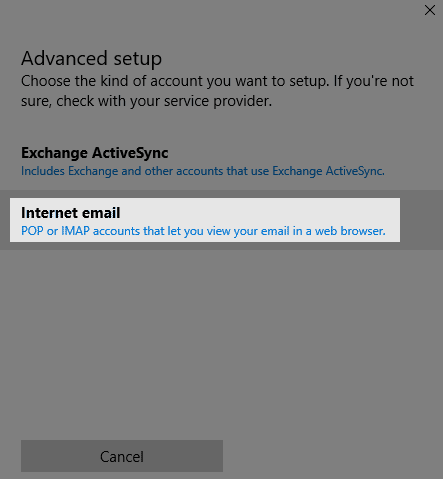
Step 2. Select Internet email
Step 3. Enter settings:
Account Name:
Your Name: The name people will see when you send email from this account
Incoming mail server: imap.lingonetworks.net
Account Type: IMAP4
User Name: Enter the full email address for the account you are setting up (ex: myemail@neonovazimbra.com)
Password: the password for the email account you are creating
Outgoing (SMTP) email server: smtp.lingonetworks.net
Outgoing server requires authentication box is checked
Use the same username and password to send and receive email box is checked
Require SSL for incoming email box is checked
Require SSL for outgoing email box is checked
Step 4. Select the Sign-in box at the bottom of the screen
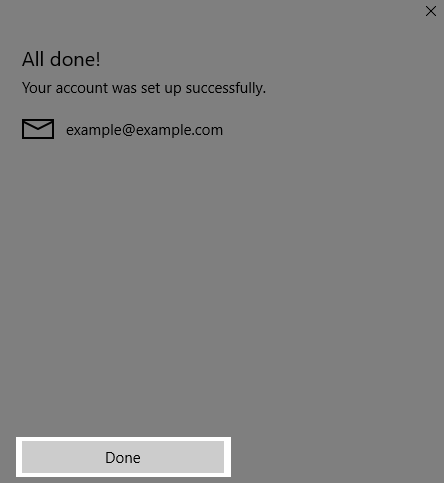
Step 5. At the All Done! screen, click Done